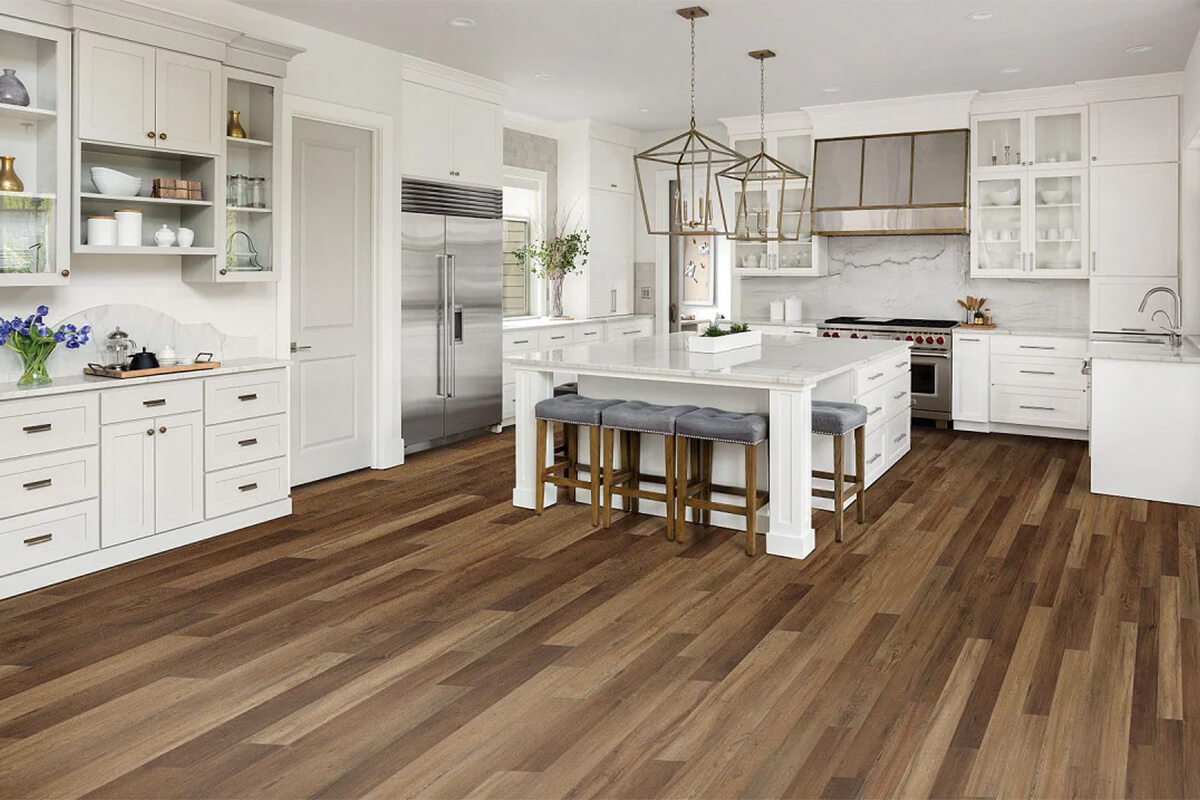
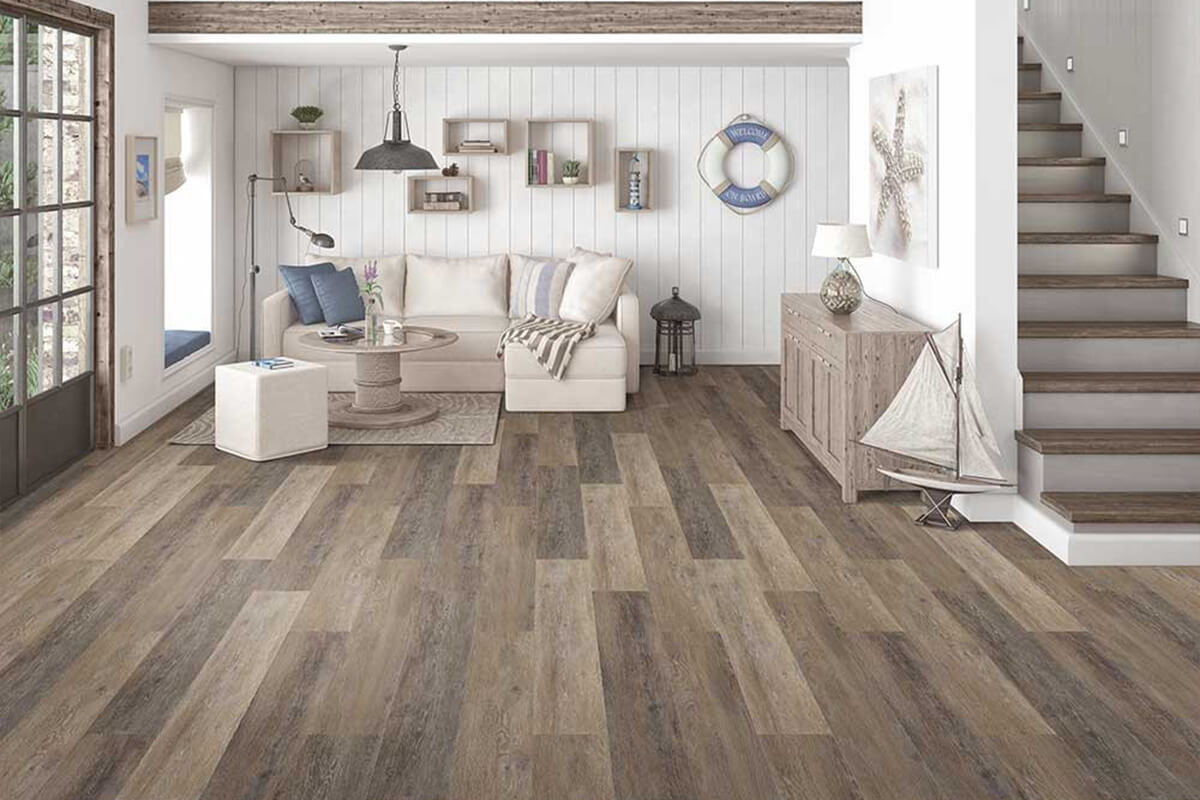
Vinyl plank flooring is one of the most popular flooring upgrades for homeowners because it looks great, handles daily life well, and doesn’t require the budget (or maintenance) of hardwood. If you want the warmth of wood tones with better water resistance and an easier install, LVP is usually a strong fit so here’s everything to know before installing vinyl plank flooring.
Below is a practical, not-overly-long guide to help you decide if vinyl plank flooring is right for your space and how to get the best results.
What is Vinyl Plank Flooring?
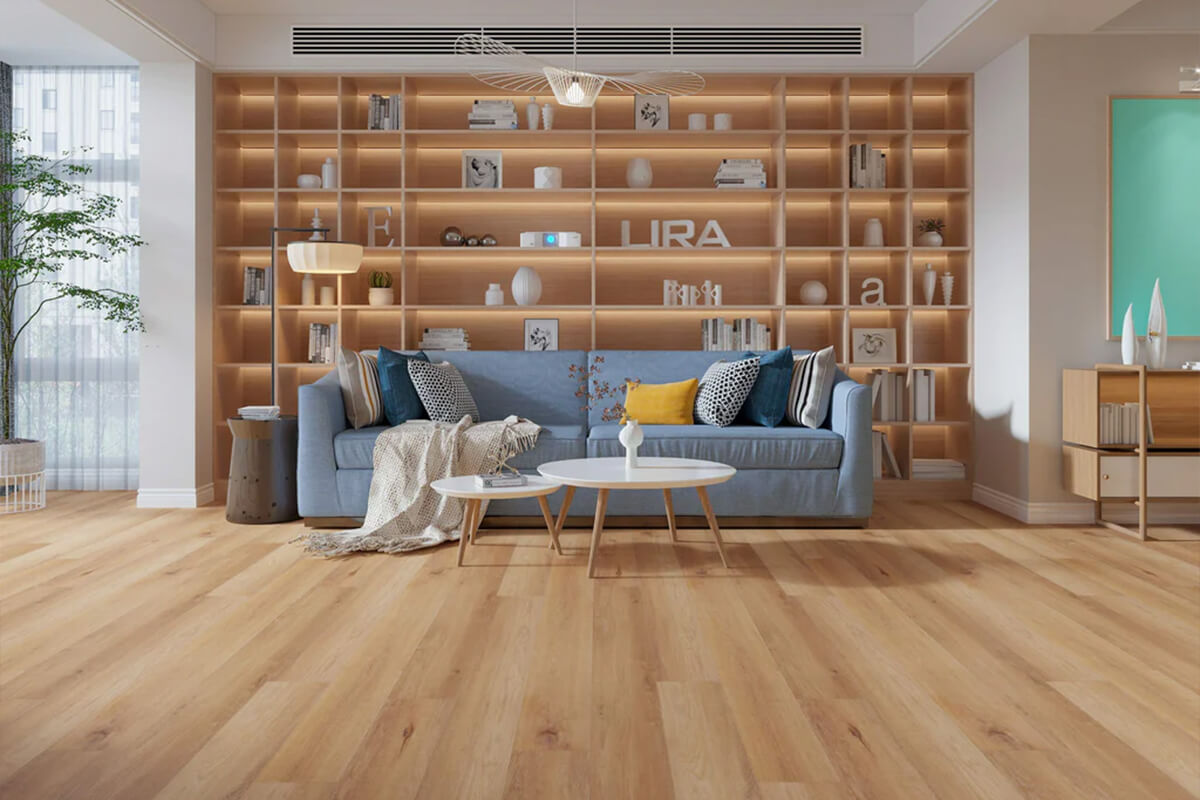
Vinyl plank is a layered flooring product designed to mimic wood (and sometimes stone) in long planks. Most modern options include:
A wear layer (scratch/scuff protection)
A printed design layer (the realistic “wood look”)
A core (adds stability; can be rigid)
A backing/underlayment (may be attached or separate)
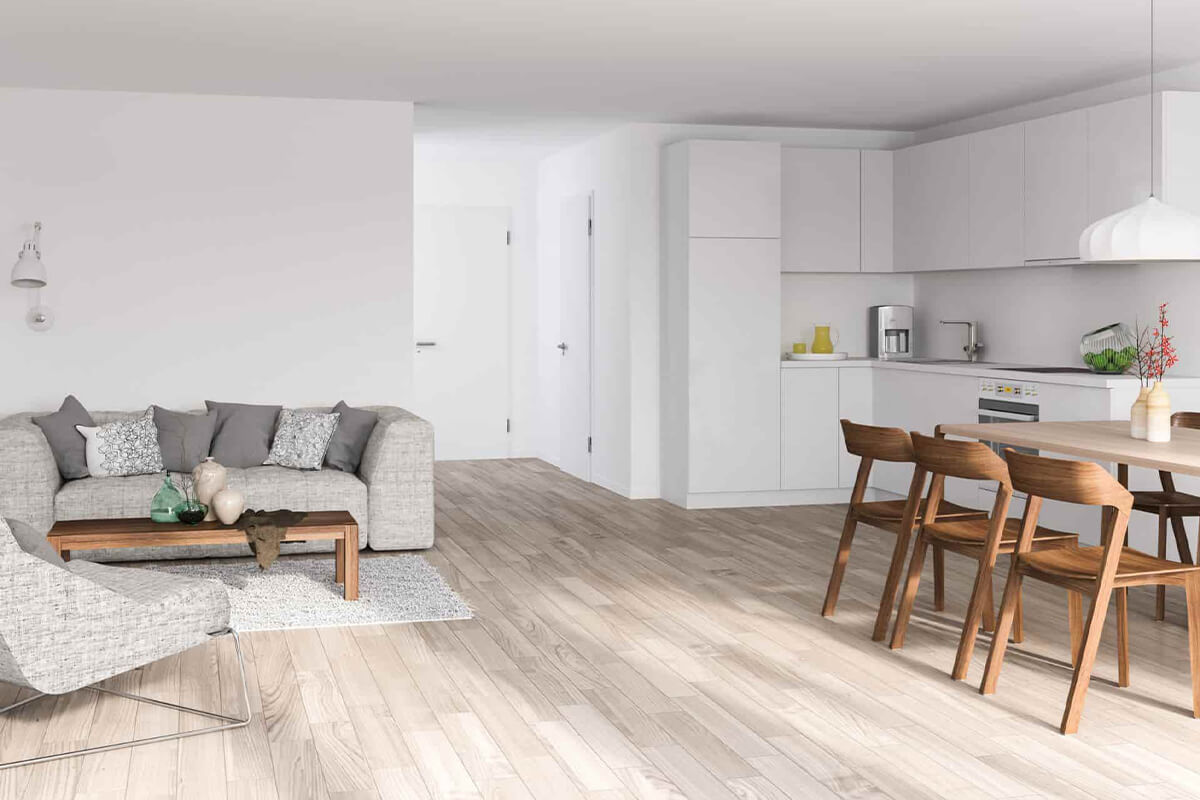
That layered build is why vinyl plank can look high-end while staying relatively affordable and easy to live with.
Pros and Cons of Vinyl Plank Flooring
Pros
Water resistance: Great for kitchens, bathrooms, basements, laundry rooms, and homes with pets.
Durable in real life: Resists dents, stains, and daily wear better than many natural materials.
Budget-friendly “wood look”: You get the style without the hardwood price tag.
DIY-friendly options: Click-lock planks are designed to go in fast with minimal mess.
Low maintenance: No refinishing, waxing, or special treatments.
Cons
Subfloor prep matters a lot: A bumpy or uneven floor can telegraph through, cause movement, or lead to gaps.
Repairs can be annoying: Individual planks can be replaced, but it may require “unbuilding” part of the floor depending on where the damage is.
Some products look more “plastic” up close: Quality varies, better visuals usually come with thicker planks and a stronger wear layer.
Click-lock joints can be tricky: If you rush, force boards, or don’t align properly, seams may not lock tightly.
5 Things to Know Before Installing Vinyl Plank
1) Flat is required (more important than “level”)
Most LVP failures come from poor prep. Small dips, humps, nails/screws, grout lines, or debris can cause rocking planks, noisy spots, and visible imperfections. If the floor isn’t flat enough, use patching compound or leveling methods recommended by your installer/manufacturer.
2) Choose the right thickness and wear layer for your lifestyle
If you’ve got kids, pets, or high traffic, thicker planks and a stronger wear layer can be worth it. It’s not just about “feel”, it’s about performance over time.
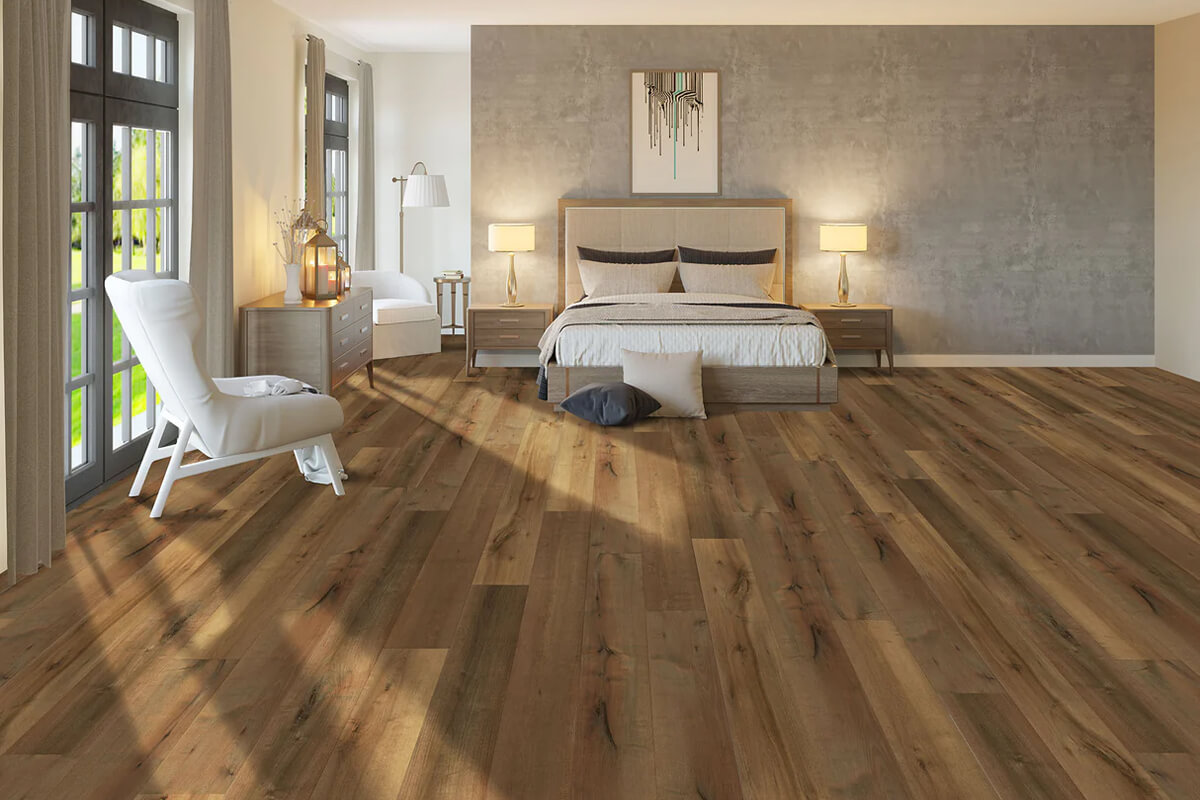
3) Don’t let patterns repeat
Wood-look planks can repeat the same “knot” or grain image. Open multiple boxes and mix planks as you install so the floor looks natural, not like a copy/paste pattern.
4) Plan your layout so the edges don’t look awkward
You want to avoid ending up with tiny slivers of plank against a wall. Good layout planning makes the finished floor look professional.
5) Remove trim for a cleaner finish
Pulling baseboards allows you to hide expansion gaps properly and avoid relying on quarter-round everywhere. It’s a little extra effort that usually pays off visually.
How to install vinyl plank flooring
Step 1: Acclimate the flooring
Let planks sit in the room (typically 24–48 hours) so temperature and humidity changes don’t surprise you after installation.
Step 2: Prep the subfloor
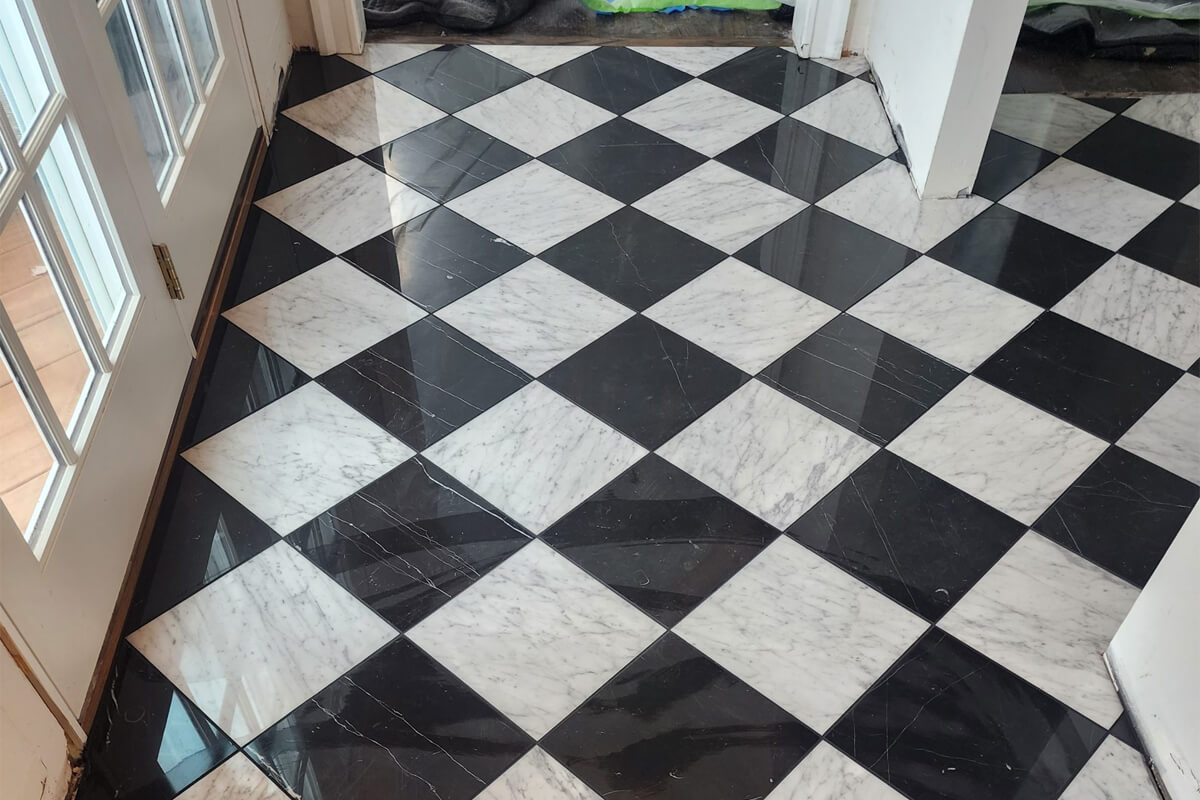
Remove old flooring if needed, clean thoroughly, check for flatness, and address squeaks, loose boards, or moisture issues. Concrete may require a moisture barrier depending on the product and conditions.
Step 3: Plan plank direction and layout
Most installers run planks with the room’s longest dimension or toward the main light source. Measure carefully so the first and last rows aren’t too narrow.
Step 4: Install the first row perfectly straight
The first row sets everything. Use spacers for the expansion gap and keep the line straight so later rows don’t drift.
Step 5: Continue rows, staggering seams
Stagger end joints for a natural look and better structure. Lock each plank carefully, don’t force it.
Step 6: Cut around doorways, vents, and obstacles
This is where patience matters. Clean cuts and tight fits are what separate “DIY-looking” from “pro-looking.”
Step 7: Finish with transitions and trim
Install transitions where flooring meets other materials, then reinstall baseboards (or add trim) to cover the expansion gap.
Walk the entire floor, look for gaps, confirm tight seams, and clean with a manufacturer-approved method.
Common mistakes to avoid
Skipping subfloor flattening
Not following the manufacturer’s expansion gap rules
Rushing the locking mechanism (leading to loose seams)
Installing over moisture issues
Not planning around vents/door jambs early
Using the wrong underlayment (some products don’t want it)
Care and maintenance
Sweep/vacuum regularly to prevent grit from scratching
Pricing varies by material quality, subfloor prep, and labor rates, but a common range is about $2,000–$7,000 total. A site check is the best way to get an exact number.
It depends on the product and subfloor. You may need a moisture barrier over concrete and/or an underlayment if it isn’t attached (but some products forbid extra underlayment, always check the instructions).
Floating click-lock is popular for DIY and typical homes. Glue-down can be excellent for heavy commercial traffic or areas where you want a firmer feel. The “best” choice depends on how the space is used.
Yes, click-lock LVP is one of the most beginner-friendly floors. The key is subfloor prep and careful layout planning. If those feel intimidating, pro installation can save time and prevent costly mistakes.
Tile and luxury vinyl plank (LVP) are highly durable and water-resistant. Hardwood lasts a long time too, but benefits from regular maintenance and refinishing.
Ready to Upgrade Your Floors?
If you want vinyl plank flooring that looks natural, feels solid underfoot, and holds up long-term, Classic Flooring Solutions can help you select the right product for your home and install it with the prep and precision that makes the difference.
Reach out today to request a quote or get recommendations based on your space, traffic level, and style goals.