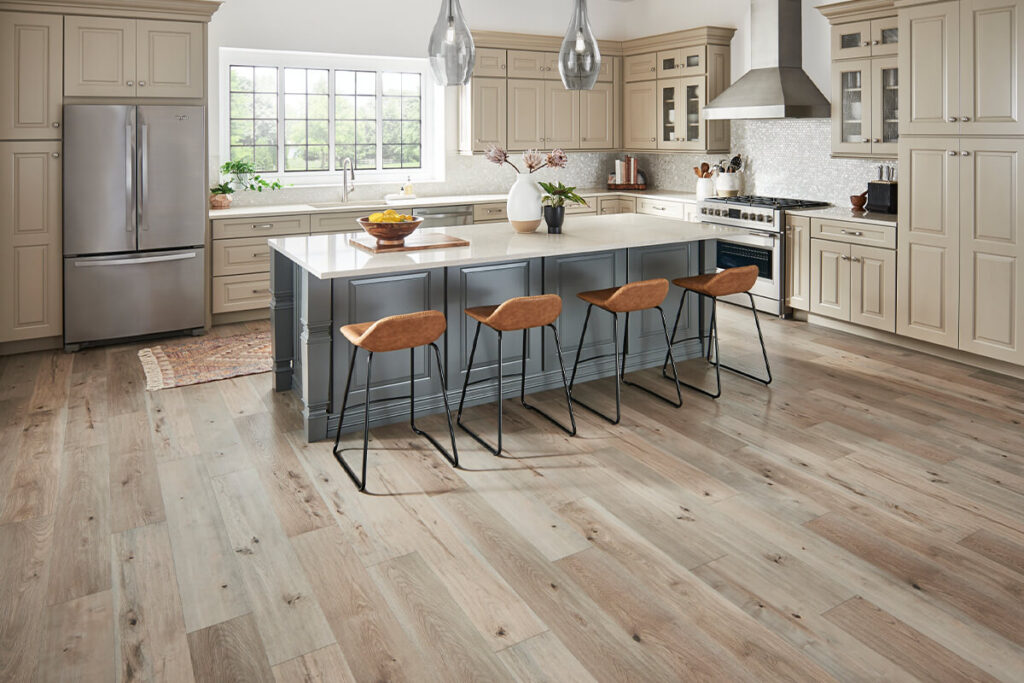
Laminate flooring installation is a popular DIY project for many homeowners, and for good reason. It’s durable, stylish, and more affordable than many traditional flooring options.
This article is designed for beginners looking to tackle their first flooring project with confidence. Based on real installation experience, these expert tips will help you avoid common mistakes and ensure a polished result. From prepping your space to finishing touches, we’ll cover every key detail of a successful laminate installation.
1. Removing Old Flooring and Prepping the Room
The first step in any laminate flooring installation is to clear the space. Remove old flooring such as carpet, including any leftover staples or tack strips. This might require a pry bar or other simple tools. Getting down to the bare subfloor is essential for proper installation.
It’s also helpful if painting and wall repairs are done before laying your new floors. Starting with a clean and prepared space makes the installation much smoother. Though this step may seem tedious, it’s an essential foundation for a professional-looking laminate floor that lasts for years.
2. Deciding Whether to Remove Baseboards
Deciding whether to remove baseboards depends on your comfort level and desired finish. Removing baseboards allows the laminate to sit closer to the wall, giving a cleaner look and potentially eliminating the need for quarter round molding.
If removing baseboards isn’t an option, you can still get great results with quarter round to cover the expansion gaps between the flooring and the wall.
3. Measuring Your Room and Calculating Materials
Before buying any materials, accurate measurements are key. Break your space into measurable sections and add them together to determine how much laminate you’ll need. Be sure to account for 10% extra to cover mistakes and cuts.
In addition to the laminate planks, you’ll also need underlayment, quarter round, and transition pieces. For a laminate flooring installation, it’s smart to measure the baseboards to determine how much quarter round you’ll need.
A good rule of thumb is to round up, as having extra materials is always better than running short mid-project.
4. Cleaning and Prepping the Subfloor
Once the room is cleared and materials are on hand, thoroughly clean the subfloor. Remove all dust, nails, and leftover debris to ensure the laminate planks lay flat and securely. For laminate flooring installation in homes with concrete subfloors, this step is especially crucial to avoid future moisture problems.
Make sure the surface is level; high or low spots can cause planks to shift or separate. This clean slate is the perfect foundation for underlayment and flooring. Skipping this step could lead to uneven flooring, squeaks, or visible gaps that compromise the final result.
5. Choosing and Installing Underlayment
Underlayment is essential for moisture control and sound absorption. In laminate flooring installation, especially on concrete slabs, it’s crucial to use the right kind. There are various types such as standard and premium versions, some with built-in tape and mold resistance.
Roll it out across the room, tape the seams securely, and ensure complete coverage of the subfloor. This protective layer enhances comfort underfoot and prolongs the life of your flooring. Always follow the manufacturer’s guidelines for installation.
Proper underlayment can make a significant difference in performance, especially in humid or moisture-prone environments common in St. Louis basements.
6. Picking the Right Direction for Your Laminate
Choosing which direction to lay your laminate flooring can impact the room’s visual appeal.
For a typical laminate flooring installation in homes, many professionals recommend running the planks along the longest wall to make the space look larger. However, if you’re matching existing flooring in adjacent rooms, follow that direction instead for a seamless flow.
Ultimately, it comes down to personal preference and room layout. Think about natural light and entryways when making your choice. Starting in the wrong direction could make installation harder and affect the overall look of your finished project.
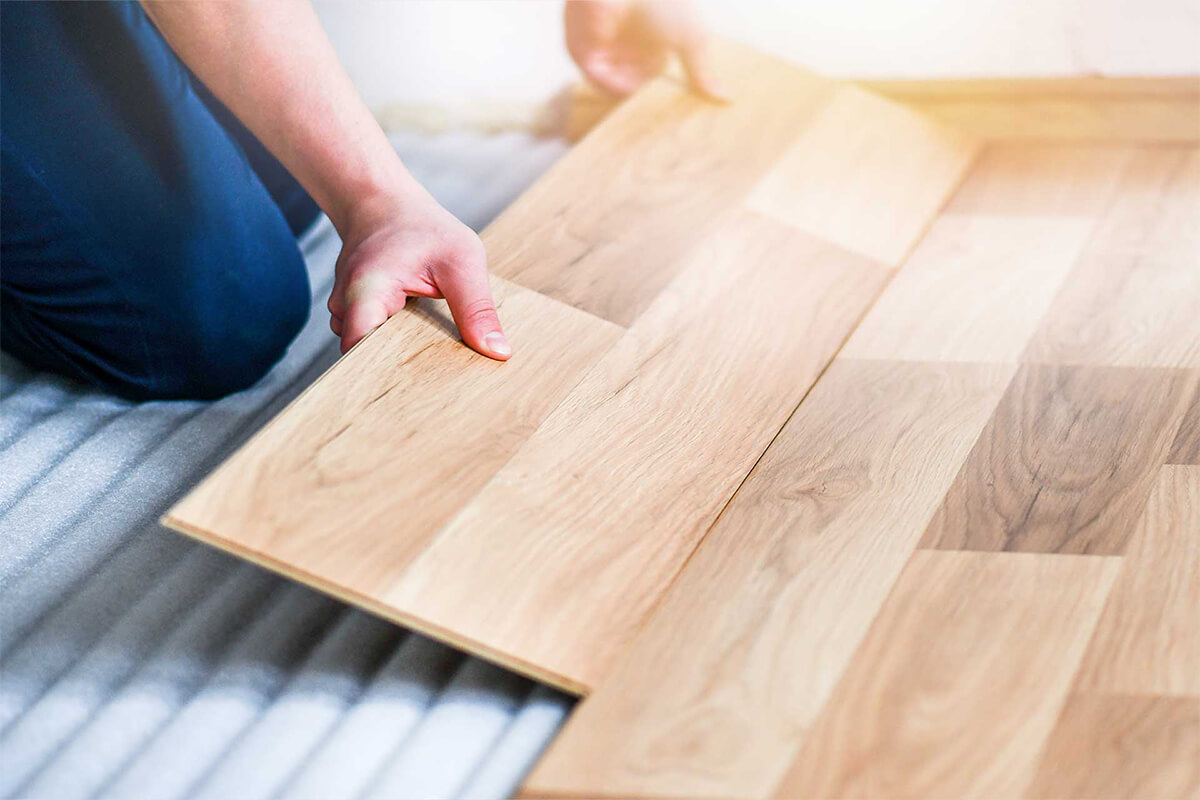
7. Installing the First Few Rows
The first three rows are crucial for establishing a solid base. Begin by cutting off the tongue side of the planks that face the wall to allow for a smooth edge.
Use spacers to maintain an expansion gap around the perimeter. This gap is important to accommodate seasonal changes in temperature and humidity.
A consistent staggered pattern adds stability and visual appeal. Use leftover pieces to start new rows whenever possible to reduce waste. This method keeps the layout natural and avoids repeating patterns that can make the floor look artificial.
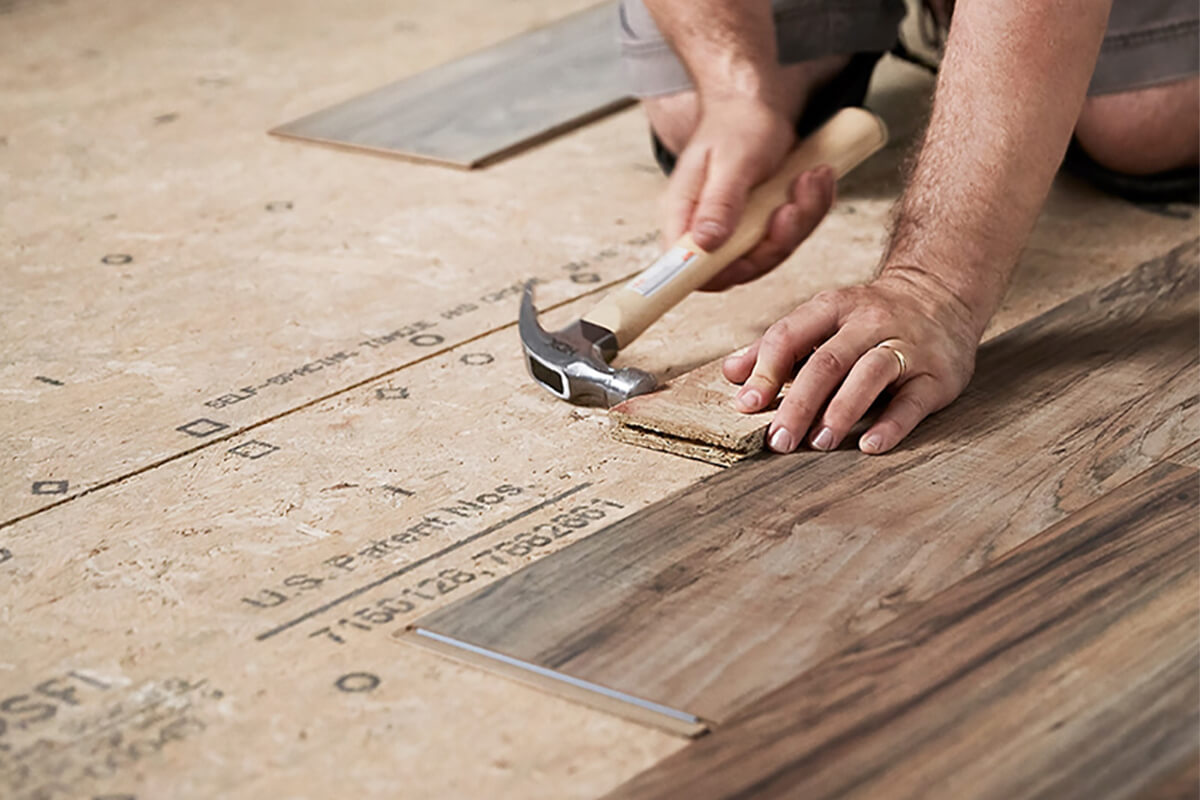
8. Working Around Doors and Obstacles
Door frames, trim, and closet corners can be tricky areas when installing laminate. Use an oscillating tool to undercut the door trim, allowing the plank to slide underneath. This creates a cleaner, more professional look for your installation. Mark cutouts on your planks using painter’s tape to reduce chipping and get more precise cuts.
Test fit each piece before installing. Take your time in these areas, while time-consuming, this step will significantly impact the overall appearance of your floor and ensure smooth transitions between rooms and entryways throughout your home.
9. Installing Quarter Round and Transition Pieces
After the flooring is down, it’s time to install quarter round to cover the expansion gap and add a finished look. Cut pieces using a miter saw for clean corners.
Consider using a pin nailer for minimal visible holes, which makes caulking and painting easier. You can start anywhere in the room and work your way around, nailing each piece into the baseboard, not the floor.
Transition strips are used to join laminate to other flooring types. T-moldings work best when the two floors are the same height.
10. Final Touches and Cleanup
Finishing touches make a big difference. Fill nail holes with caulk, smooth out seams, and clean the floor to remove dust or adhesive residue. If your baseboards have gaps, caulking can help mask them for a cleaner look.
For laminate flooring installation in St. Louis, Classic Flooring Solutions recommends taking these final steps to ensure your floor looks polished and professional. We can assist you in getting you a free estimate of your project here.
Tidy up your workspace, return your tools, and admire your work. A thorough final inspection helps catch any missed spots. Once complete, your new laminate floor will offer beauty, durability, and comfort for years to come.